Your administrator can configure who has permission to submit a content idea (either everyone or only specific users) and idea contributors cannot see an unapproved idea unless they themselves created it.
Creating a content idea requires that you specify a name, the content type, and a description of the idea. The Create drop down menu is available at the top of your screen from any tab within Kapost. You can also create a content idea from within a initiative.
- To create a content idea, select the + Create button in the top navigation.


- Select Idea.
Note: You can only create a content idea here, not an initiative idea.

- In the Topic field, enter a name for the content idea.
- Click the Type drop-down and select a content type.
- In the Idea field, enter a brief description for the content idea.
- If you want to attach it to an existing Initiative, click the Initiative drop-down and select an Initiative. You can select more than one.
- Select the Create button to create your content idea.
- If you need to cancel, just click the Cancel button or you can click the Back option to go back.
Once you select Create, you will be redirected to the content idea page where you can submit or delete the content idea.

From there you will be able to complete idea by:
- Adding more detail with pictures and hyperlinks.
- Tagging the idea with the correct custom field data.
- @mentioning other Kapost members using the activity feed.
When you submit a content idea, you will see an on-screen confirmation that your content idea was successfully submitted after you click Submit.

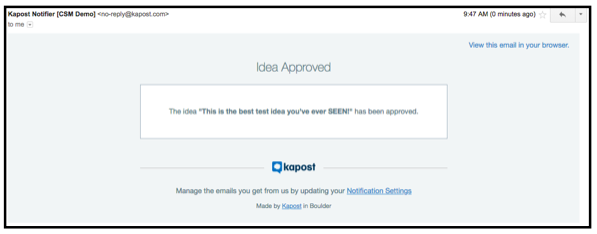
You will be notified via email when your idea is either approved or rejected.

Depending on users’ notification settings, they will receive an email when someone in their organization creates an idea.